Best Microphone for Streaming: USB vs XLR and What to Buy
For most beginners, a USB microphone is the better first buy because it plugs straight into your PC and needs no interface. Pick a cardioid dynamic or condenser on a boom arm. Move to XLR only when you want an audio interface, more control, or a mic you can upgrade on its own.
As an Amazon Associate we earn from qualifying purchases. Buttons open Amazon search results, so check the reviews, size and price before you buy. We haven't tested these products ourselves.
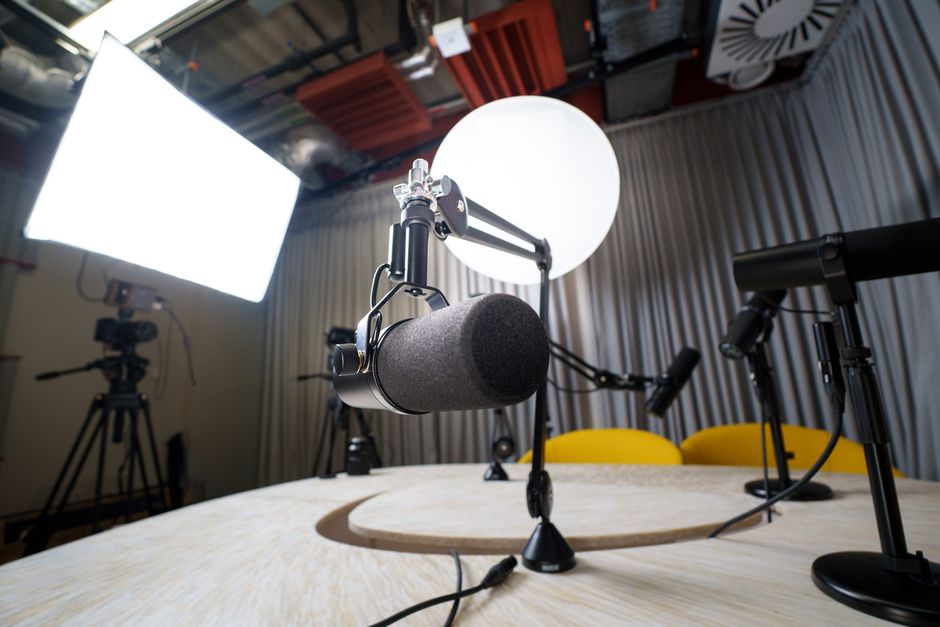
Photo by Jakub Zerdzicki on Pexels
What actually decides USB or XLR
Two choices matter most: how the mic connects (USB or XLR) and how it captures sound (dynamic or condenser). Brand matters far less. A USB mic has a built-in audio interface, so it plugs straight into your PC. An XLR mic needs a separate interface, which costs roughly $50 to $200 or more.
Most sources agree on the beginner answer. One says USB is the right choice for most gamers and streamers, and another says it is plug-and-play, cheaper overall, and needs no audio interface or mixer. We have not tested any microphones. This guide is built from published buying advice and the settings below.
USB vs XLR at a glance
| Factor | USB mic | XLR mic plus interface |
|---|---|---|
| Setup | Plug in and select it in OBS | Mic, XLR cable, interface, drivers |
| Cost to start | Lower, one purchase | Higher, two or more purchases |
| Upgrade path | Replace the whole mic | Swap the mic or interface separately |
| Multiple mics | Awkward on one PC | Better suited to guests and co-hosts |
| Best for | Solo streamers starting now | Streamers who want more control |
On sound quality, one source says high-quality USB microphones deliver clarity, warmth, and detail rivaling most mid-tier XLR setups. For multiple people on one computer, a USB-only setup gets difficult: running multiple USB mics on a single computer is technically complex, often unstable, and frequently causes software conflicts. That is the clearest case for XLR.
What to look for when buying
1. Dynamic or condenser
Condensers are detailed and sensitive. Dynamics reject room noise. If your room has an echo, a keyboard, or a loud PC fan nearby, a dynamic mic is the more forgiving choice.
If your room is quiet and you want more detail, a condenser works.
Shop USB condenser microphones
2. Cardioid pickup pattern
Cardioid picks up sound mostly from the front. Avoid relying on omnidirectional or multi-pattern modes for solo streaming, because they pick up more of the room.
3. Onboard controls
A physical mute button, a gain knob and a headphone jack for monitoring save you from digging through software mid-stream. Many USB mics include headphone monitoring, gain control, and mute buttons.
See USB mics with mute and gain controls
4. A boom arm and pop filter
A good mic on a desk stand picks up keyboard thumps and sits too far from your mouth. One guide recommends a cardioid dynamic USB mic on a boom arm as covering most streaming needs.
5. Hybrid USB and XLR
If you expect to grow, a hybrid mic lets you start USB and switch to XLR later without buying a new microphone. Hybrids usually cost more than basic USB mics.
See USB and XLR hybrid microphones
6. If you go XLR
You need an interface that supplies enough clean gain for your mic. Quiet dynamic mics are often demanding on preamps, so check the gain figure on the interface listing.
Set it up in OBS
- Open Settings, then Audio. Set the sample rate to 48 kHz. Keep the same rate in your system sound settings, since mismatched sample rates between your audio interface and OBS cause desync issues.
- Choose your microphone under Mic/Auxiliary Audio and your headphones as the monitoring device.
- Set the mic gain so your normal speaking voice peaks in the upper part of the green and yellow zone, never the red. Keep shouting moments in mind.
- Add filters to the mic source. One guide suggests RNNoise noise suppression, a noise gate, and a compressor.
- Under Output, Advanced mode, set the Track 1 audio bitrate. Twitch and Kick: 160 kbps; YouTube: 192 kbps. Another source notes that raising audio from 128 to 320 kbps adds almost no CPU load, but going above 192 kbps gives no audible benefit over a stream connection.
Worked example: 1080p60 on Twitch
A common starting profile is 6,000 kbps CBR at 60 fps for 1080p, with a 2 second keyframe interval. Add 160 kbps audio and your stream uses about 6,160 kbps in total.
Upload speed needs headroom. One guide says your upload speed should be at least 1.5x your bitrate, so 6000 kbps needs at least 9 Mbps upload. With audio included, 6,160 x 1.5 is 9,240 kbps, so about 9.3 Mbps. Round up and treat 10 Mbps of real, tested upload as the floor. Notice that the audio is under 3 percent of the total (160 divided by 6,160). Spending bitrate on audio is cheap, so the mic and room matter more than the setting.
Twitch limits differ by account. One guide lists a 6,000 kbps cap for standard accounts and 8,500 kbps for partners. Check each platform's current ingest guidance before you finalize numbers, since limits change.
Common mistakes
- Buying XLR first. It adds cost and setup before you know whether you will keep streaming.
- Leaving the mic on the desk stand. Distance and keyboard noise hurt more than the capsule.
- Setting gain too high. It raises background noise and causes clipping. Lower the gain and move closer instead.
- Using two USB mics on one PC. Expect conflicts, as noted above.
- Skipping monitoring. Use headphones so you hear what viewers hear, and keep desktop audio below your voice. One guide suggests mic at 100% volume, desktop audio at 80 to 85%.
Our recommendation by situation
- Solo, starting now: a cardioid USB mic with a mute button, on a boom arm.
- Noisy room: a dynamic USB mic, placed close to your mouth.
- Might add guests later: a hybrid USB and XLR mic.
- Already want full control: XLR mic with an interface.
One guide puts a total budget below roughly $200 for the whole input chain as a case where XLR is less suited. Prices change often, so compare current listings.
Common questions
Is a USB or XLR microphone better for Twitch beginners?
USB for most beginners. It needs no interface, costs less overall and is ready in minutes. XLR makes more sense once you want multiple mics, separate upgrades or more control.
What audio bitrate should I use in OBS?
Common guidance is 160 kbps AAC for Twitch and Kick, and 192 kbps for YouTube. Going above 192 kbps gives no audible benefit over a stream connection, according to one settings guide.
Do I need an audio interface for a streaming microphone?
Not with a USB mic, because the interface is built in. XLR mics need an external interface, which one buying guide puts at roughly $50 to $200 or more.
Should I get a dynamic or condenser mic for streaming?
Dynamic mics reject more room noise, so they suit untreated rooms. Condensers capture more detail but also pick up more of your room, so they fit quieter spaces.
What sample rate should OBS use for my microphone?
Use 48 kHz in OBS and keep your Windows or system audio device at the same rate to avoid sync issues.